In the last few updates VMware has changed which drivers get loaded for certain SATA controllers (in particular the ICH7 / ICH9 / ICH10 models). This has been done to fix a problem that prevented host CD-ROMs from being used within a VM.
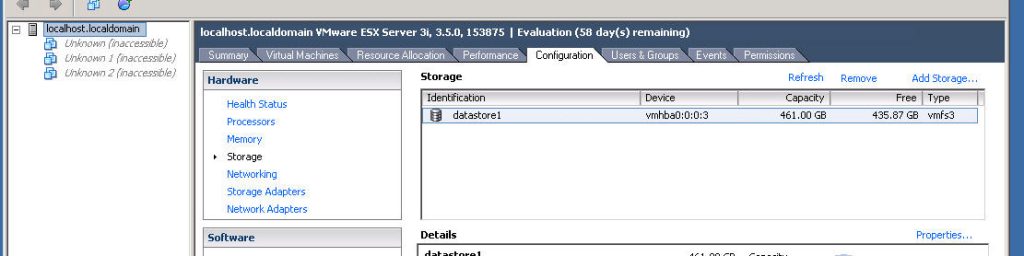
However, in some cases after upgrading a user might find the below error after rebooting for the first time after the firmware upgrade has been installed: The VMware ESX Server does not have persistent storage. As shown in the below image, the ICH9 controller is now recognized as an IDE controller after updating to Update 4 instead of a SATA controller as was the case with ESXi 3.5 Update 3. .
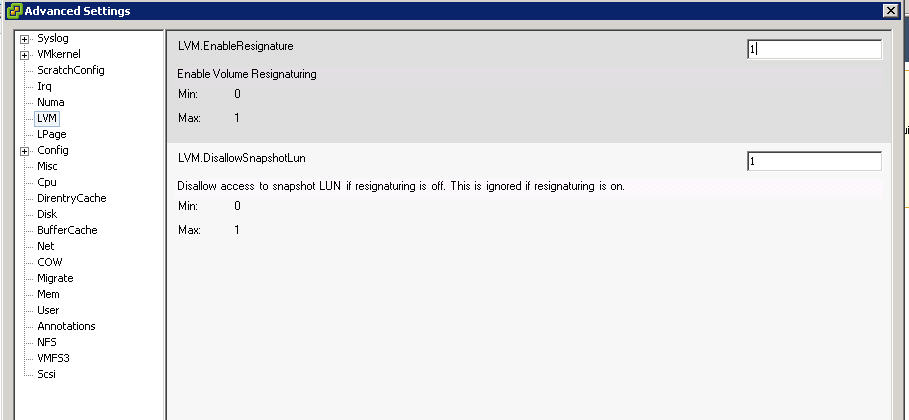
To correct this first go to Configuration/Advanced Settings and find LVM.EnableResignature. Change the value to 1. After this process is complete, you’ll want to change it back to 0.
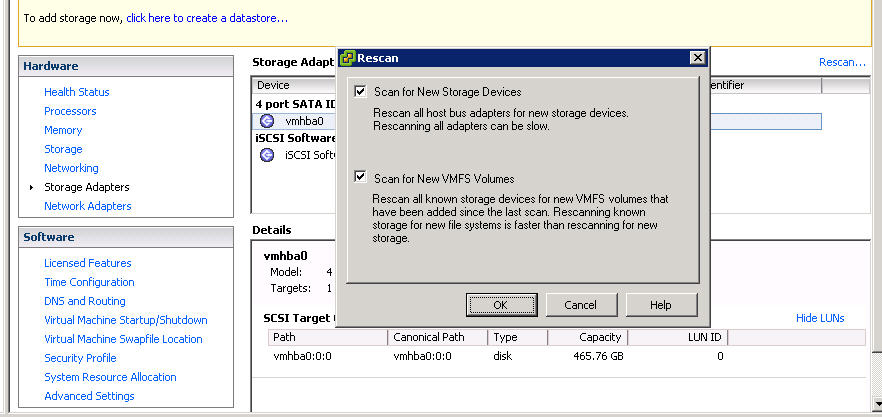
Go to Configuration/Storage Adapter and click on Rescan. Then click Ok on the Rescan window.
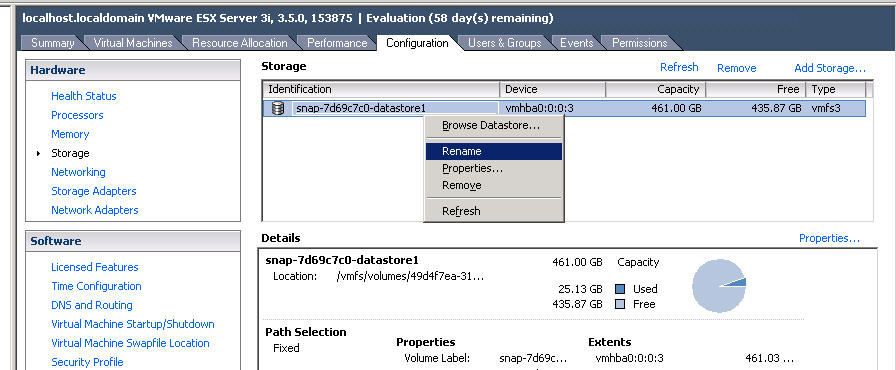
After the rescan is complete, go to Configuration/Storage. You should see the datastore, but it’ll have “snap” as part of the name. Right click on it and rename it back to the original name
If you look at your VM list, you’ll see that VMs on that data store will appear as inaccessible. THis is because ESXi registers VM location with the UUID for the data store and not the logical name. You have two options here.
1) You can right click on the inaccessible VMs and select Remove From Inventory. Remove From Inventory only removes the VM from the list of VMs registered. It does not delete the VM’s files. You can then right click on the data store, select Browse and then find each VMX for your VMs. Then right click on the VMX file and select Add To Inventory. The downside to the method is that you’ll loose any custom permissions you’ve set on the VMs.
2) The second method is more complicated but may be easier if you have many VMs.
a – run the command ls -l /vmfs/volumes/ to get the UUID for your data store
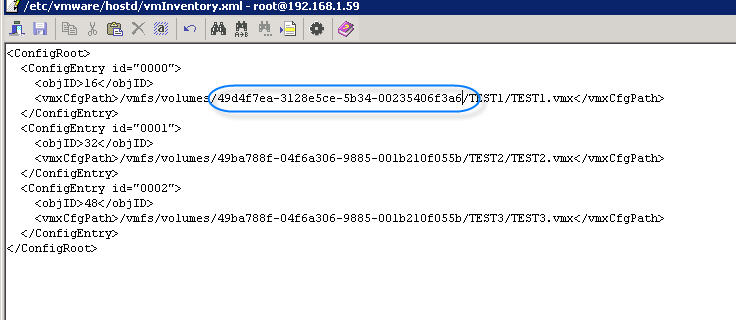
b – edit the file /etc/vmware/hostd/vmInventory.xml (see the 2nd image below) to update the path to the VMX file. In the image I’ve updated the path to TEST1.
c – after the paths are corrected in vmInventory.xml, save the file and run the command services.sh restart at the console.
d – reconnect with the VI client and your VMs should be listed. Given that the VM IDs did not change in vmInventory.xml, any existing permissions will have been preserved on your VMs.